Import contacts from iCloud (vCard .vcf file) to Outlook
This article explains how to get your vCard (.vcf file) into CSV format so you can import your contacts into Outlook.
IMPORTANT: Make sure you've exported all of your contacts from iCloud! The most common mistake we see customers make is they export only 1 contact from iCloud when they intended to export all of them. For instructions on exporting all of your contacts from iCloud, see Export your iCloud contacts to a vCard (.vcf) file.
To import contacts in a vCard file to Outlook on a PC, you need to convert them from a .vcf file format to a .csv file format. This involves importing them to Windows, and then exporting them to the CSV file. If you have more than 50 or so contacts, this is a tedious process because you have to press OK for each contact you want to import to the csv file. Unfortunately, there's no way to do a global OK and import all of them to the csv file at the same time.
If you'd like to request that bulk import from a vCard file be supported in Outlook, visit the Outlook Suggestion Box to leave your feedback in the Outlook 2016 group. The Outlook Mail and Calendar team is actively monitoring this forum.
To convert a .vcf file to .csv, import them to Windows and then export them to a .csv file. Here's how to do that:
-
On your PC, open File Explorer (or Windows Explorer if you are using an earlier version of Windows).
-
Go to your Contacts folder:
C:\Users\<username>\Contacts
-
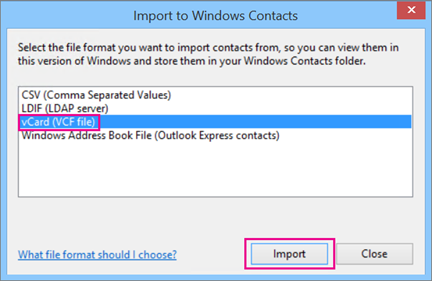
At the top of the page, choose Import.

-
Choose vCard (VCF file) > Import.
-
Navigate to and choose the .vcf file that you exported from iCloud, then choose Open.

-
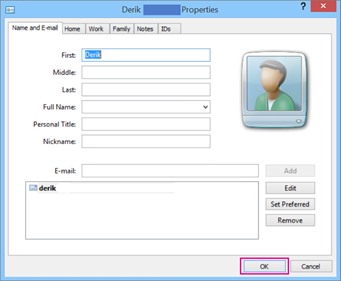
For each contact you want to import to the .csv file, choose OK.
-
When you're finished, choose Close.
-
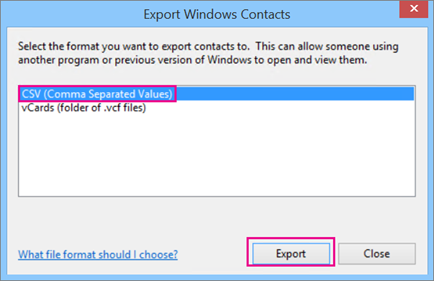
At the top of the File Explorer page, choose Export.
-
Choose CSV file > Export.
-
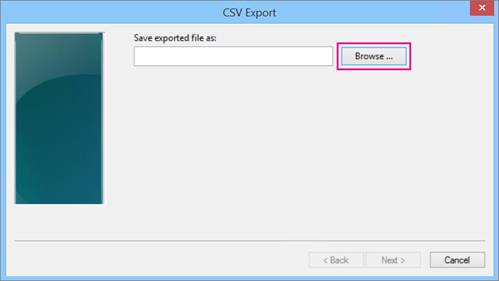
Choose Browse to name your csv file.
-
In the File name box, type a name for your .cvs file. In this example, I named my file "my contacts from iCloud."

-
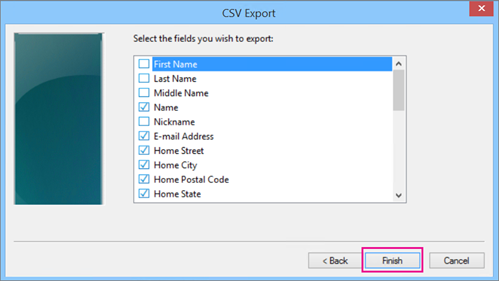
Choose the fields you want to export into the .csv file and then choose Finish. It's recommended that you accept the defaults for now. You can always create another csv file if you want other fields.
-
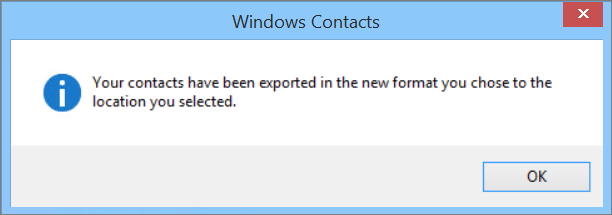
You'll get this final message that your contacts have been exported to a .csv file.
-
You can use Excel to open your .csv file to see what's there. You can add more info to the csv file if you want, but be sure not to change the top row of headings. For more info about working with the .csv file, see Manually create your list of contacts in a csv file.
-
Now that your contacts are in .csv format, you can import them to Outlook. See Import contacts from a .csv file
Import contacts to Outlook
Outlook has an Import/Export wizard that makes it easy to import contacts from a CSV file.
Use a comma separated values file (CSV) to import your contacts into your Outlook on the web account.
Tip: For best results, make sure that the CSV file has UTF-8 encoding. This encoding works for all languages and alphabets.
-
At the bottom of the page, select
 to go to the People page.
 -
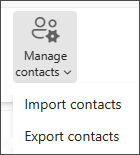
On the toolbar, select Manage > Import contacts.
-
Select Browse, choose your CSV file, and then select Open.
-
Select Import.
For more information visit https://support.office.com/en-us/article/import-and-export-outlook-email-contacts-and-calendar-92577192-3881-4502-b79d-c3bbada6c8ef.
